
Your first RV camping trip is equal parts exciting and overwhelming. The RV itself handles a lot of the comfort equation, but knowing what to pack, how to set up at the campsite, and how to break down when you leave makes the difference between a smooth weekend and a stressful one.
This checklist covers everything a first-time RV camper needs, from the gear you load before leaving home to the step-by-step arrival and departure procedures at the campground. Whether you own your rig, rented one for the weekend, or borrowed a family member’s travel trailer, these are the essentials.
Happy Grounds campgrounds across New England and New York offer full-hookup RV sites with 30/50-amp electric, water, and sewer connections at locations from Champlain, NY to Bellingham, MA.
Before You Leave Home
The 24 hours before departure are when most first-time RV mistakes happen. Walk through this list the day before you leave.
- Check tire pressure on all tires, including the spare. RV tires lose pressure over time, especially if the rig has been sitting. Use a tire gauge rated for your tire’s PSI.
- Check propane levels. Fill or exchange tanks before the trip. Running out of propane mid-weekend means no stove, no oven, and no hot water.
- Test all lights. Turn signals, brake lights, running lights, and interior lights. Have someone stand behind the rig while you cycle through them.
- Check fluid levels. Engine oil, coolant, transmission fluid, and brake fluid (for motorhomes). For towable trailers, check the tow vehicle.
- Charge the house battery. The battery powers interior lights, the water pump, and slide-outs when you are not connected to shore power. A dead battery on arrival is a common first-timer mistake.
- Plan your route. Use an RV-specific GPS or route planner that accounts for bridge heights, weight limits, and road restrictions. Standard GPS apps do not always flag low clearances.
- Print your reservation confirmation. Include the campground address, site number, check-in time, and office phone number. Do not rely solely on your phone.
- Run the generator briefly. If your RV has a built-in generator, start it and let it run for a few minutes to confirm it works.
- Stock the fridge early. Turn on the RV fridge 24 hours before departure if possible. RV fridges cool slowly compared to household units.
RV Hookup Essentials

These are the items you need to connect your RV to campground utilities. Forgetting any of them means a trip to the nearest hardware store or camping supply shop.
- Water hose (food-safe): A white or blue drinking-water-rated hose. Never use a standard garden hose for your RV water connection.
- Water pressure regulator: Screws onto the campground spigot before you connect the hose. Campground water pressure varies widely, and high pressure can damage RV plumbing.
- Sewer hose and fittings: A 15-20 foot sewer hose with bayonet fittings and an elbow adapter for the campground sewer connection. Bring disposable gloves.
- Sewer hose support: A plastic ramp that elevates the hose and ensures proper drainage. Without it, waste sits in low spots.
- 30/50-amp adapter: Your RV plug may not match every campground pedestal. Carry both a 30-to-50 and 50-to-30 adapter to cover all hookup scenarios.
- Surge protector: Plug this into the campground electrical pedestal before connecting your RV power cord. Protects against power surges, low voltage, and wiring faults. Non-negotiable.
- Extension cord (outdoor-rated): Heavy-duty, at least 25 feet. Useful when the hookup pedestal does not quite reach your RV.
- Drinking water filter: An inline filter that connects between the hose and your RV. Improves water taste and removes sediment.
Leveling and Setup Gear
An unlevel RV means the fridge does not cool properly, water does not drain right, and sleeping feels like you are on a hillside.
- Leveling blocks: Stackable plastic blocks (like Lynx Levelers or similar) that go under your tires to level the RV side-to-side.
- Wheel chocks: Place behind and in front of tires after leveling to prevent rolling. Use chocks before disconnecting from the tow vehicle.
- Bubble level or leveling app: A small bubble level on the counter or a smartphone app tells you when you are level. Some RVs have built-in levels.
- Stabilizer jack pads: Flat pads placed under each stabilizer jack to prevent them from sinking into soft ground.
- Entry mat: A large outdoor mat placed at the RV door catches dirt, grass, and mud before they get tracked inside.
- Snap pads (for fifth wheels): Go under the landing gear feet to distribute weight on soft ground.
Kitchen and Cooking Supplies
RV kitchens come with a stove, oven, sink, and fridge, but you need to stock the supplies.

- Pots, pans, and a skillet: One medium pot, one large pot, and a skillet handle most camping meals
- Cooking utensils: Spatula, wooden spoon, tongs, can opener, corkscrew, sharp knife, cutting board
- Plates, bowls, cups, and silverware: Lightweight, unbreakable sets. Avoid glass.
- Dish soap, sponge, and towel: Biodegradable soap preferred
- Paper towels and napkins
- Aluminum foil and zip-lock bags
- Coffee maker: Drip, French press, or percolator. Whichever gets you through the morning.
- Cooler: Even with an RV fridge, a separate cooler for drinks and snacks reduces how often you open the fridge door (which helps it stay cold)
- Trash bags: Heavy-duty, 13-gallon. Bring more than you think you need.
- Spices and condiments: Salt, pepper, oil, ketchup, mustard. The basics that make campground meals taste like home.
Bedroom and Bathroom
The RV provides the structure. You provide the comfort.
- Bedding: Fitted sheets (RV mattresses are often non-standard sizes, so measure first), blankets, and pillows from home. RV mattresses are thin, so a mattress topper makes a noticeable difference.
- Towels: Bath towels, hand towels, and washcloths. Quick-dry towels save space.
- Toiletries: Soap, shampoo, toothbrush, toothpaste, razors, and personal items
- RV-safe toilet paper: This is critical. Regular toilet paper does not dissolve properly in RV holding tanks and causes clogs. Buy toilet paper labeled “RV/marine safe” or “septic safe.”
- Shower mat: Prevents slipping on the RV shower floor
- Holding tank treatment: Drop-in tank deodorizer tablets or liquid treatment for the black and gray water tanks. Reduces odor and helps break down waste.
Safety Equipment
Check these before every trip, not just the first one.
- Smoke detector: Test it. Replace the battery if it is more than six months old.
- Carbon monoxide detector: Test it. CO buildup in an enclosed RV is a serious risk, especially when running a generator or propane appliances.
- Fire extinguisher: Check the gauge to confirm it is charged. Know where it is mounted and how to use it.
- Road flares or reflective triangles: Required for roadside breakdowns. Keep them accessible, not buried under gear.
- Roadside emergency kit: Jumper cables, basic tools (wrench, screwdriver, pliers, duct tape), flashlight, tire gauge, and a tow strap.
- First aid kit: Bandages, gauze, antiseptic, pain relievers, tweezers, and any prescription medications.
Comfort and Convenience
These items are not strictly essential, but they significantly improve the camping experience.
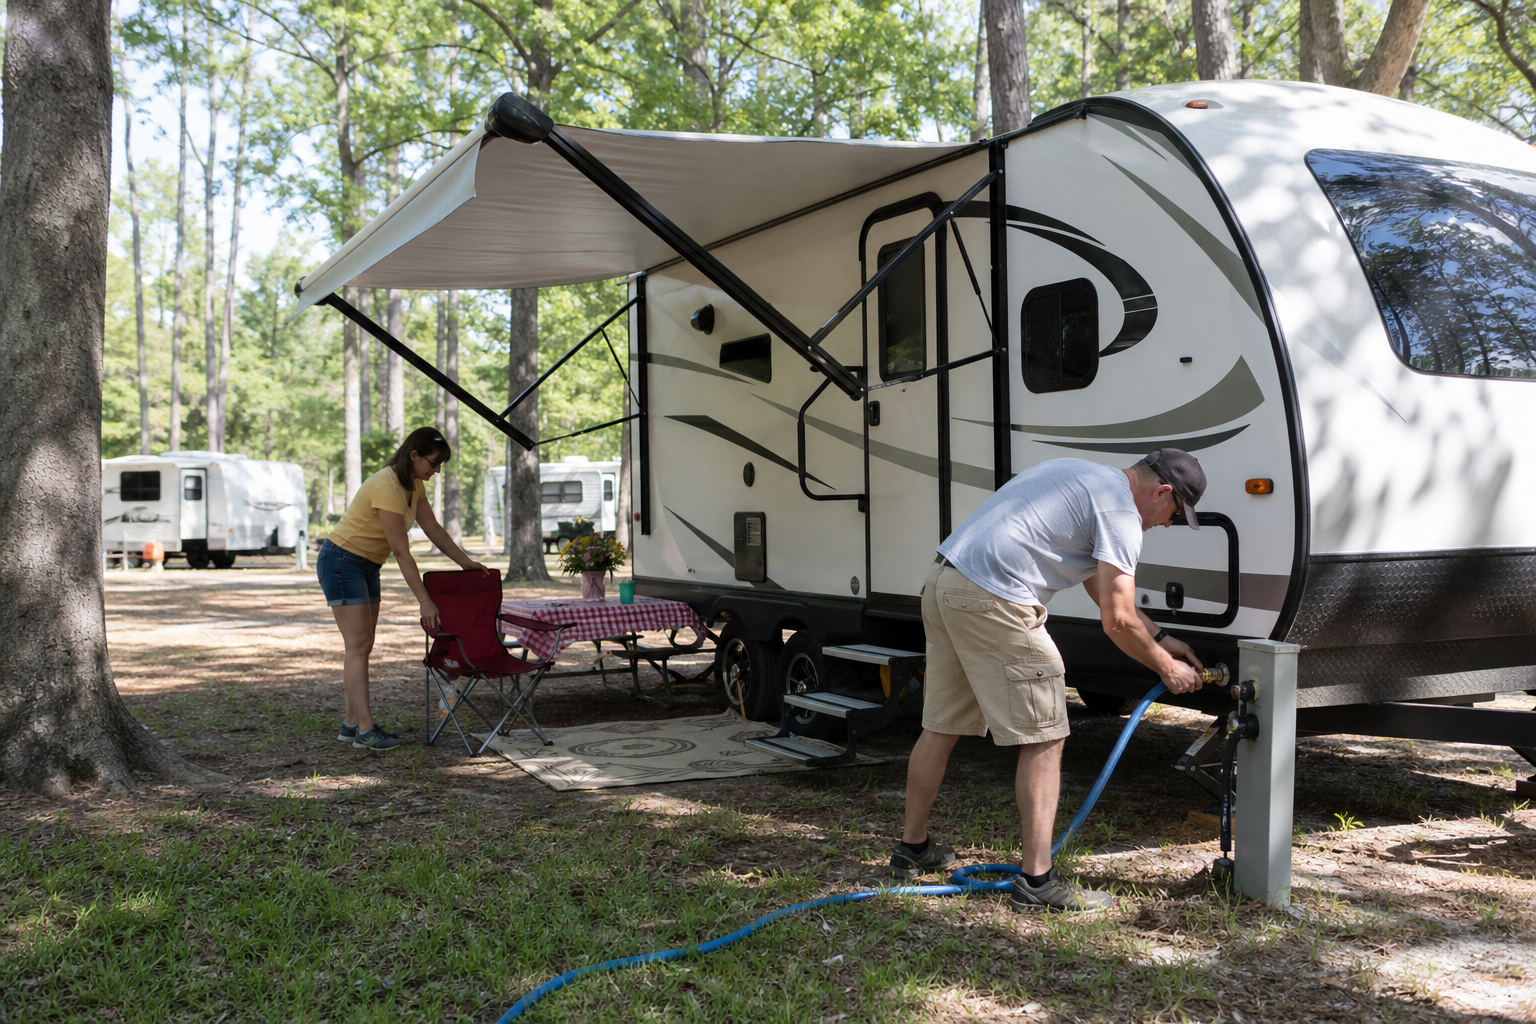
- Outdoor chairs: Bring two more than the number of adults in your group
- Awning lights or string lights: Transform the campsite after dark
- Outdoor rug: Placed under the awning to create a clean, comfortable outdoor living space
- Welcome mat: For the entry steps
- Small dustbuster or handheld vacuum: Campsite dirt migrates inside constantly
- Fans: A portable fan for the bedroom or main cabin if your RV does not have strong A/C airflow
- Portable speaker: For music at the campsite (campground-appropriate volume)
- Bug zapper or citronella candles: Placed around the outdoor seating area
Campsite Arrival Checklist (Step-by-Step)
When you pull into your site for the first time, follow this sequence. Order matters.
- Position the RV on the site. Pull in or back in according to the site layout. Take your time. Use a spotter.
- Level the RV. Use leveling blocks under the low-side tires. Check with a bubble level or app. The fridge needs the RV to be level to operate correctly.
- Chock the wheels. Place wheel chocks on both sides of at least one axle.
- Disconnect the tow vehicle (if towable). Set the trailer jack and remove the hitch.
- Deploy stabilizer jacks. Lower them until they are firm against the ground (with pads underneath). Do not lift the RV with stabilizers. They reduce sway, not support weight.
- Connect water. Attach the pressure regulator to the spigot, then the water filter, then the hose to your RV city water inlet. Turn on the spigot slowly.
- Connect electric. Plug the surge protector into the pedestal. Wait for it to confirm safe power (most models have indicator lights). Then plug your RV power cord into the surge protector.
- Connect sewer. Attach the sewer hose to the RV outlet and run it to the campground sewer connection. Use the hose support to maintain a downhill slope. Keep the valve closed until you are ready to dump.
- Open slides. Extend slide-outs after leveling and connecting to power.
- Turn on the water heater and A/C. Give both 20-30 minutes to reach temperature.
- Walk around. Check all connections, look under the RV for leaks, and confirm everything is secure.
Departure Checklist (Step-by-Step)
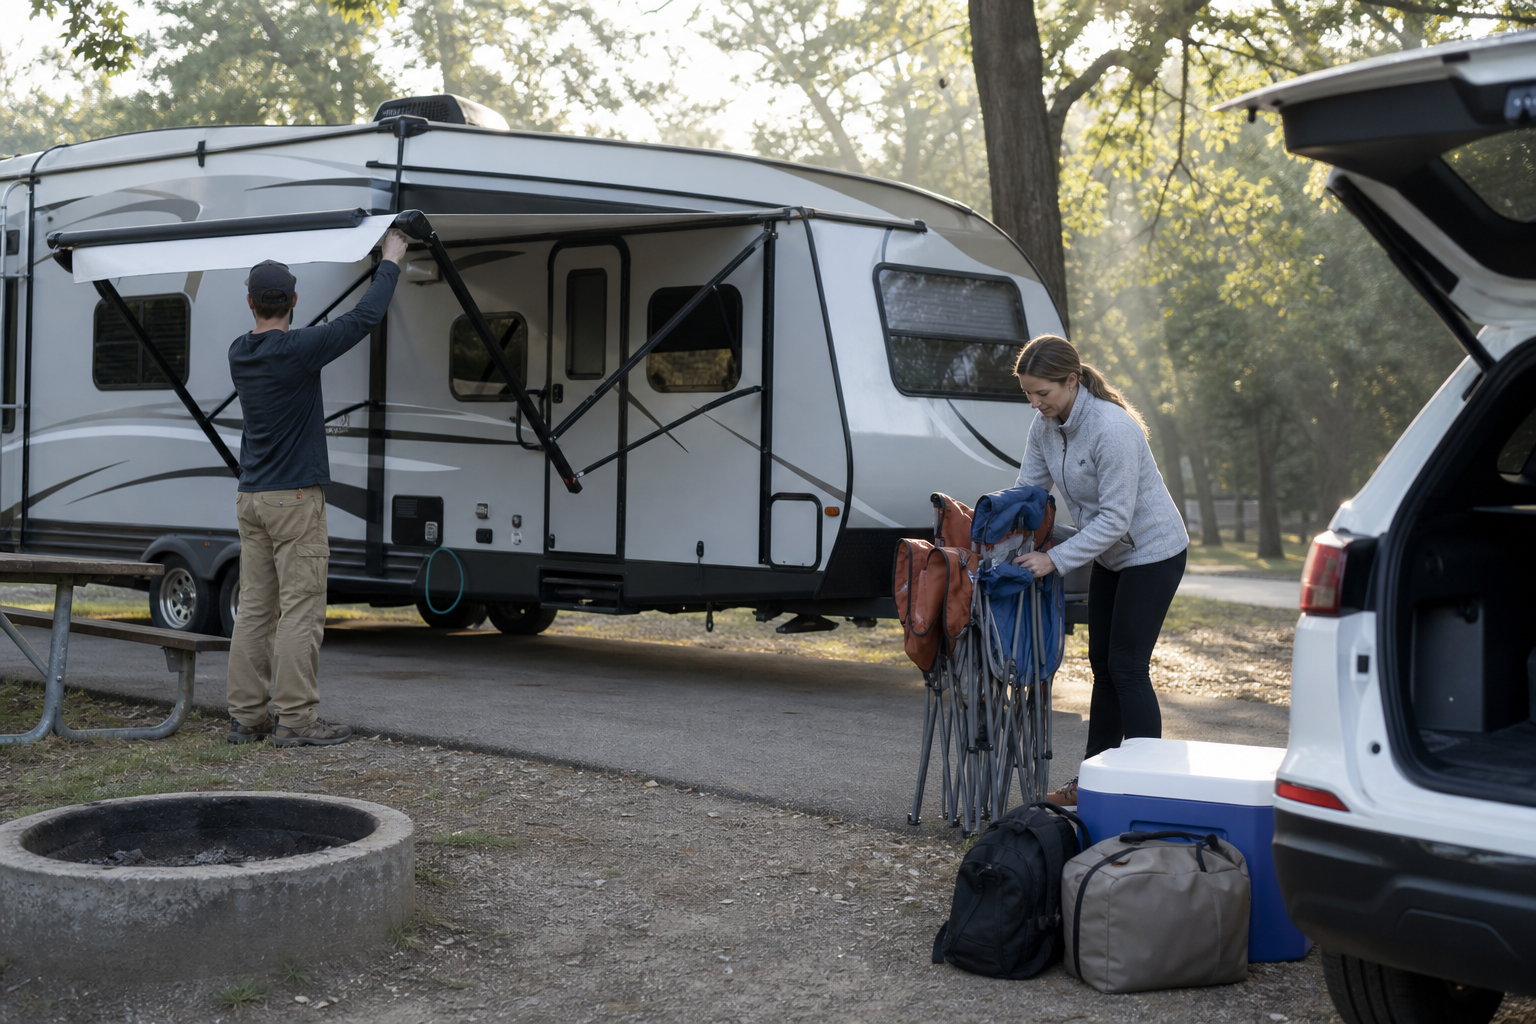
Breaking camp in the right order prevents damage and forgotten steps.
- Retract all slides. Clear furniture and objects from slide paths first.
- Retract the awning. Secure it in the travel position.
- Disconnect the sewer hose. Dump tanks first (black tank, then gray tank to rinse the hose). Rinse, cap, and store the hose.
- Disconnect the water hose. Turn off the spigot, disconnect, drain, and coil the hose.
- Disconnect electric. Unplug your power cord from the surge protector. Unplug the surge protector from the pedestal. Store both.
- Raise stabilizer jacks. Fully retracted.
- Secure the interior. Latch cabinets, secure loose items, close windows, lock the fridge door.
- Hitch up (if towable). Connect the coupler, safety chains, breakaway cable, and electrical plug. Test lights.
- Do a final walk-around. Check antenna (down), entry steps (retracted), storage compartments (locked), propane (off or on per manufacturer recommendation), and nothing left on the ground around the site.
- Drive out slowly. Check mirrors. Watch for campground speed limits and children.
Common First-Timer Mistakes to Avoid
- Forgetting RV-safe toilet paper. Regular toilet paper will eventually clog your black tank. Buy the right kind before your trip.
- Skipping the surge protector. One power surge can fry your RV’s electrical system. Surge protectors are not optional.
- Not leveling the RV. An unlevel RV stresses the frame, prevents the fridge from cooling, and makes sleeping uncomfortable.
- Dumping the gray tank before the black tank. Always dump black first, then gray. The soapy gray water rinses the sewer hose.
- Opening the black tank valve and leaving it open. Keep it closed and let the tank fill. A full tank flushes more effectively than a trickle. Open only when dumping.
- Using a garden hose for drinking water. Garden hoses contain lead and other chemicals. Only use a white or blue drinking-water-rated hose.
- Over-relying on standard GPS. RV-specific route planners account for bridge heights, weight limits, and road restrictions. Standard GPS can route you under a low bridge.
Printable Checklist
Download the printable version of this checklist, including both the arrival and departure procedures, to keep in your RV glove box.
FAQs
What hookups do Happy Grounds campgrounds offer for RVs?
Most Happy Grounds campgrounds offer full-hookup RV sites with 30/50-amp electric, water, and sewer connections. Pull-through and back-in sites are available at most locations. Check the specific campground page at camphappygrounds.com for site details.
Do I need a surge protector for RV camping?
Yes. A surge protector is one of the most important pieces of RV equipment. It protects your RV’s electrical system from power surges, low voltage, and faulty campground wiring. Plug it in before connecting your RV to shore power every time.
What is the difference between a 30-amp and 50-amp RV hookup?
A 30-amp connection provides a single 120-volt circuit (3,600 watts). A 50-amp connection provides two 120-volt circuits (12,000 watts total). Larger RVs with multiple air conditioners typically require 50-amp. Carry adapters for both to avoid hookup issues.
How do I level an RV at a campsite?
Drive or back onto the site, place a bubble level on a flat interior surface, and add leveling blocks under the tires on the low side until the level reads even. Then deploy stabilizer jacks (with pads) and chock the wheels.
What kind of toilet paper can I use in an RV?
Use only toilet paper labeled “RV/marine safe” or “septic safe.” Regular toilet paper does not dissolve properly in RV holding tanks and causes clogs. You can find RV-safe toilet paper at most camping supply stores and some grocery stores.
Can I rent an RV and camp at Happy Grounds campgrounds?
Yes. Happy Grounds campgrounds welcome all RVs, whether owned, rented, or borrowed. Check your rental company’s requirements for hookup types and towing capacity, and confirm your site reservation includes the hookups you need.
Your first RV camping trip should be fun, not a crash course in troubleshooting. With the right gear packed, a clear setup procedure, and a campground that supports your rig, the learning curve flattens quickly. Happy Grounds campgrounds across New England and New York give first-time RV campers full-hookup sites, on-site support, and a welcoming community.
Contact Happy Grounds to book your first RV camping trip, or visit camphappygrounds.com to browse RV-friendly sites at all 14+ locations.